
You can get the super popular ‘orange and teal’ look for photos and videos using the Photos app on iPhone and iPad.
Stop Spending Money on Apps and LUTs When You Can Get the Orange and Teal Look for Free Using Photos App on iPhone and iPad
I see a lot of people spending a ton of money on apps and filters to achieve the famous ‘orange and teal’ look in photos, and even videos. It’s a very good look, without a doubt, and has managed to stand the test of time, too.
However, many will have you believe that you need to spend money in order to get that look. I strongly disagree. Because, using the Photos app on your iPhone and iPad, you can actually get the look for free. You just have to dial in a few settings, and then use those edits as a reference point for future edits.
Sounds ridiculous, right? Let me show you how it’s done. Start off by snapping a random photo using your iPhone’s camera. Make sure it’s slightly colorful so you can emphasize on the orange and teal tones throughout the image.
Step 1. Open the Photos app.
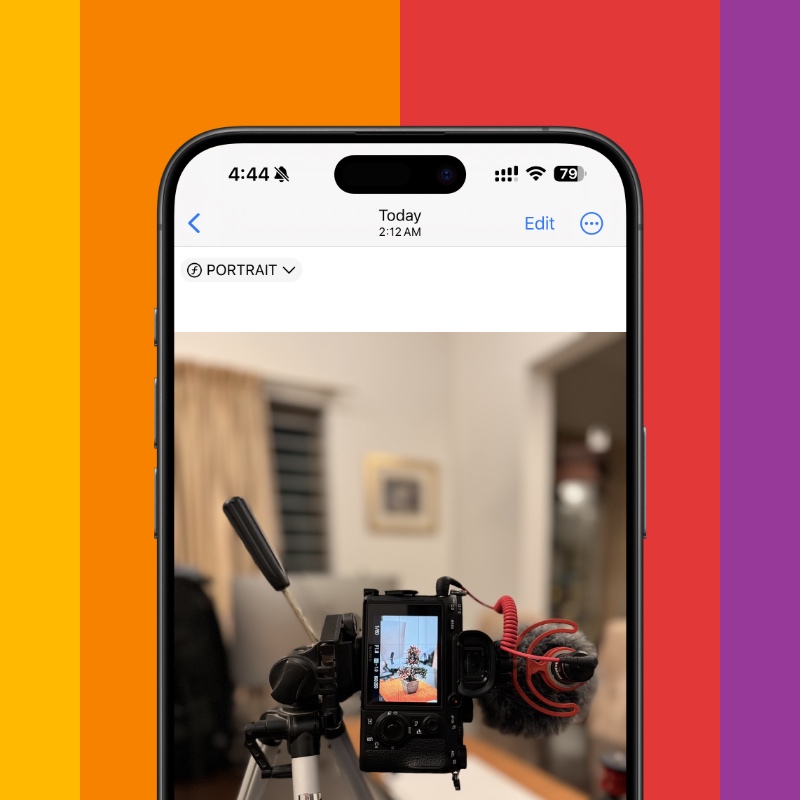
Step 2. Tap on the photo you want to edit.
Step 3. Tap on ‘Edit’ at the top right hand corner. Don’t be afraid of the sliders you see, be confident in what you’re doing.
Step 4. Tap on ‘Filters’ at the bottom.
Step 5. Now select the ‘Vivid Cool’ filter. This is going to be the base of your teal look. You can slightly dial down the filter, if you prefer a less harsh blue tone.

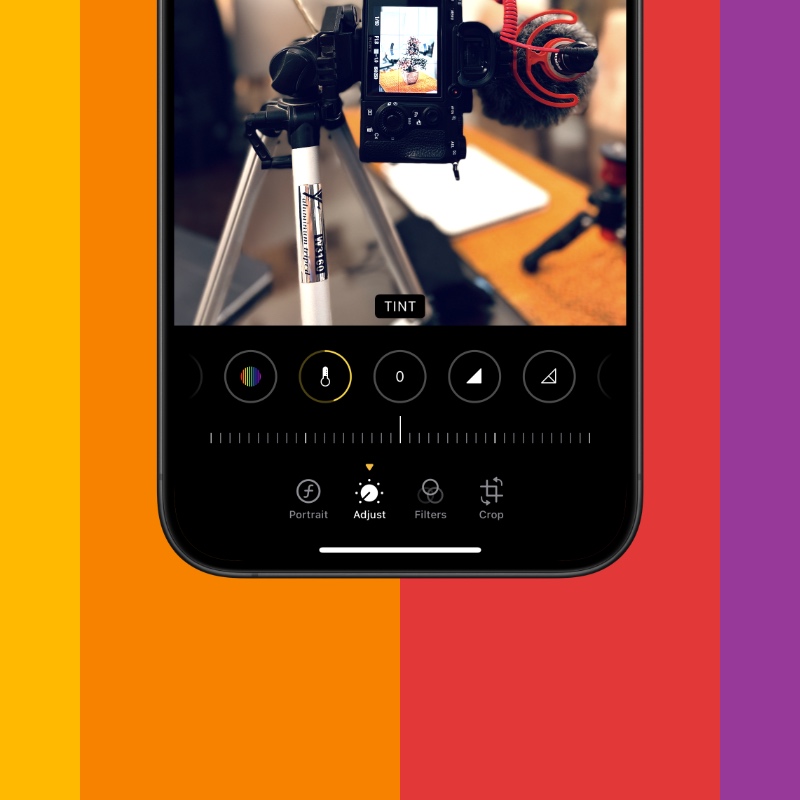
Step 6. Now tap on ‘Adjust’ at the bottom.
Step 7. Slide through the options available and find ‘Warmth.’ Increase the slider a little. Somewhere between 40 and 50 is usually enough, but that’s my preference and you can play around with this any time you like.
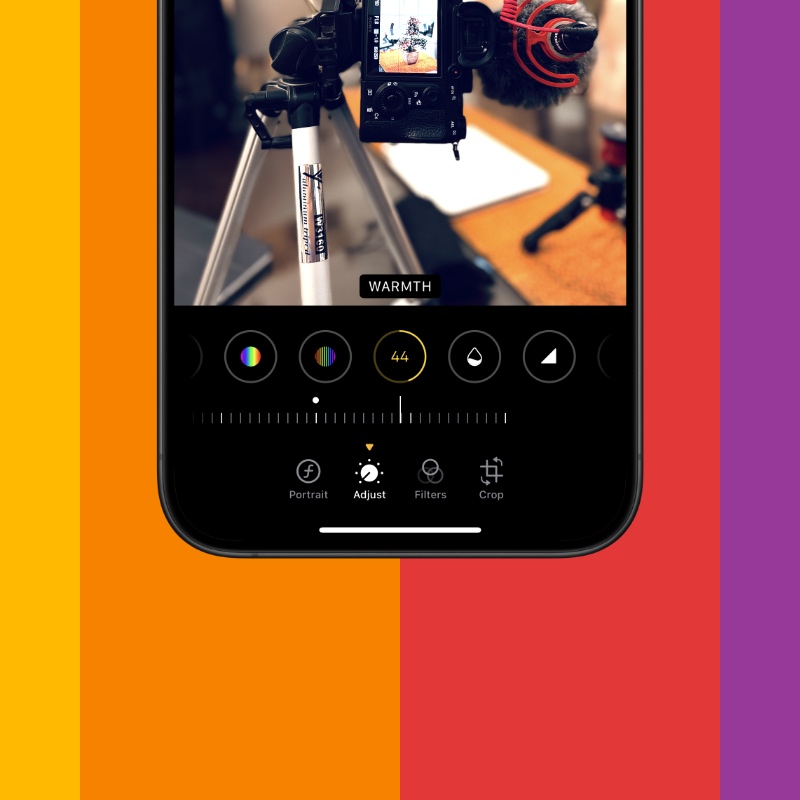
At this point you’ll start to notice the orange and teal look is starting to take shape. But, we still have some way to go.
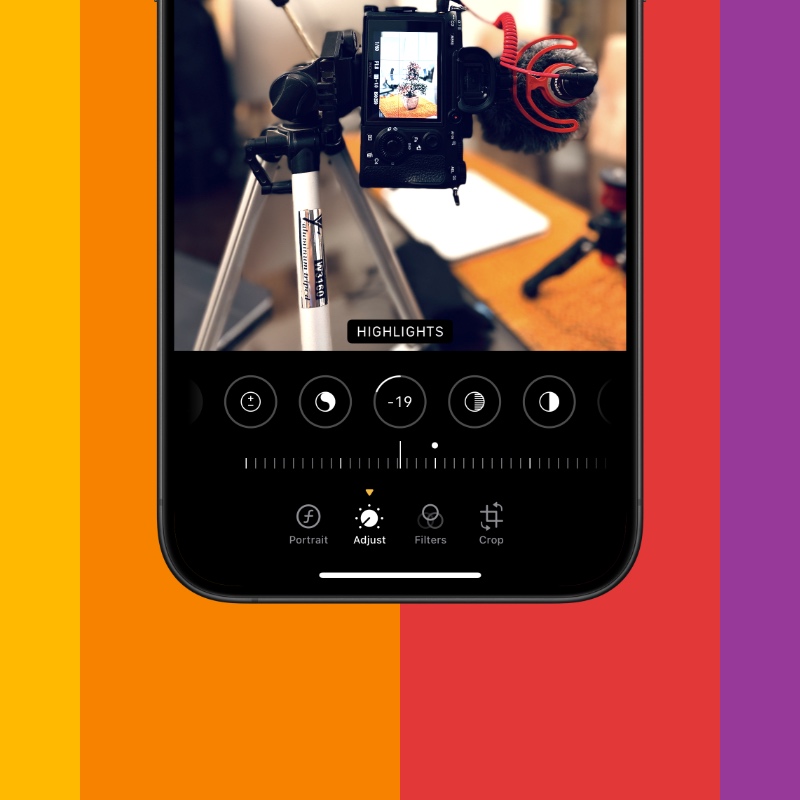
Step 8. Now slide over to ‘Highlights’ and start dialing the setting down to make the orange color pop. Again, don’t overdo it.
Step 9. This step is optional, if you want to fine-tune what you did. Slide over to the ‘Tint’ option and move the slider around to get a more orange look, if you prefer. I like to leave it at zero unless I really, really want to achieve a specific look.
Step 10. Tap on ‘Done’ at the top right hand corner. That’s it.
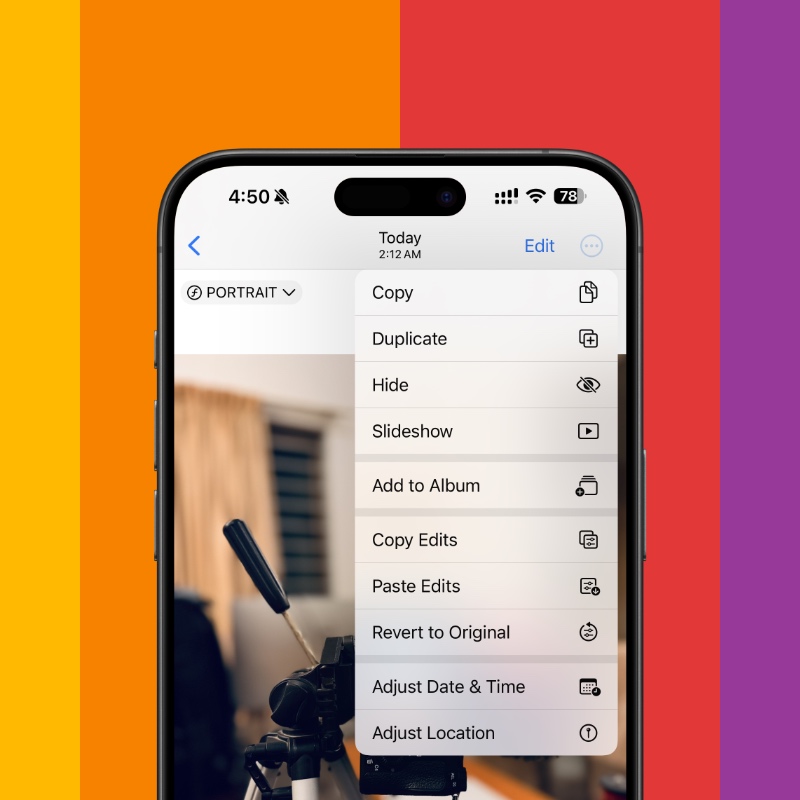
Oh, you thought we’re done? No, we’re not. What if you want to edit another photo with the same look? Just open this photo you just edited and tap on the three dots at the top right hand corner. Here you’ll see an option called ‘Copy Edits.’ Tap on it and open another image. Tap on the three dots again, and then ‘Paste Edits.’

You’re absolutely welcome.
Since the Photos app allows you to edit videos as well, you can paste these edits to your favorite clips and get the orange and teal look.


