

Want to shoot professional looking video on iPhone? Learn how to lock auto exposure for a consistent look.
Shoot Professional Looking Videos on iPhone by Locking Auto Exposure before Hitting that Record Button
A lot of people will stick with the full automatic settings for video on the iPhone. That’s fine, I do, too. It’s the best and quickest way to capture a moment. But, if you’re looking to add some professional touch to your videos, there are a couple of things you should do, one of them being locking auto exposure settings.
The other thing that makes a video look extremely amateur is automatic white balance. You need to lock it in before you start shooting a video, too. I have done a tutorial on how to lock white balance I will highly recommend checking it out before going any further with this guide.
Auto exposure is a great way to properly expose the dark and bright parts of the video. However, it also gives the video an unprofessional look. Imagine you’re panning around while recording a video and the exposure keeps on jumping around because of one flashlight, lamp post, car headlight, anything at all. That’s the sort of thing that makes video look bad. Locked auto exposure settings will give you a consistent look, and that is exactly what you should aim for every single time.
Let me show you how you can set it up.
Step 1. Launch the Camera app.
Step 2. Switch over to ‘Video.’
Step 3. Right at the top you’ll see an upward facing arrow, if you’ve holding the iPhone in portrait mode. You’ll find this arrow on the left if you’re holding your iPhone in landscape mode. Tap on this arrow and you’ll see a bunch of new settings.
![]()
Step 4. You’ll see an icon with a “+ -” on it. Tap on it.
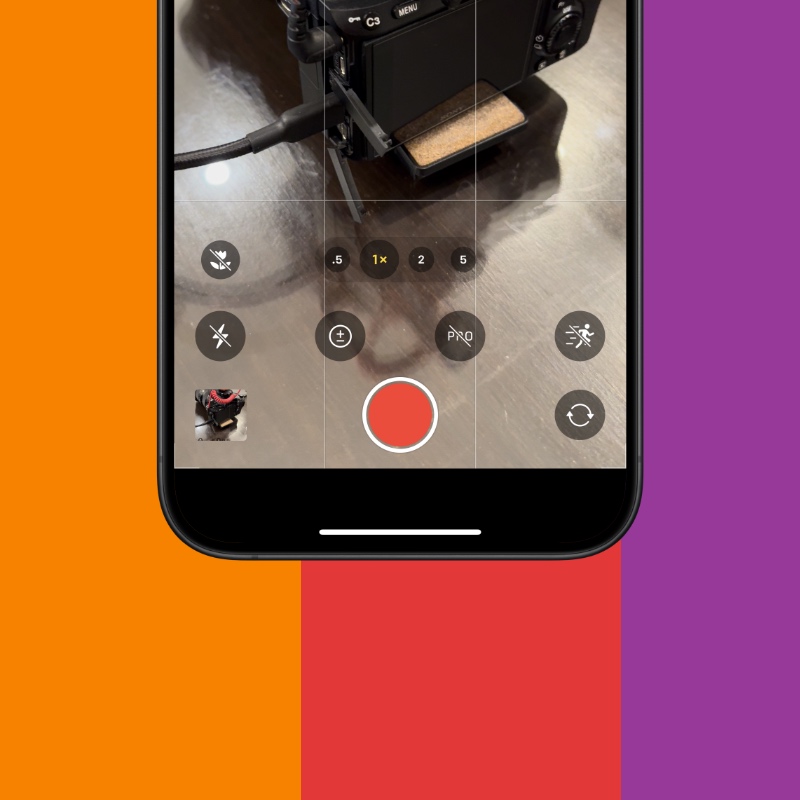
Step 5. Now you’ll see a slider that goes from -2 all the way to +2. Set it to either -0.7 or -0.3. Setting it to 0 will make the video a little too bright. The idea is to slightly under-expose whatever it is you’re shooting.

Step 6. When you hit the ‘Record’ button, you’ll notice auto exposure is now locked on the iPhone. It won’t constantly adjust itself, giving you an extremely clean look while recording video.
You can further improve video quality by setting your iPhone to record in 4K. Setting the frame-rate to 24fps will give you that cinematic look while shooting in 60fps gives you headroom for slowing down the footage later. It’s a personal preference, and if you’re asking me, just leave it at 4K 30fps, it’s more than enough.
If you’re up for editing your videos, you can achieve the orange and teal look straight from the Photos app. I’ve written a small tutorial on it, too.


