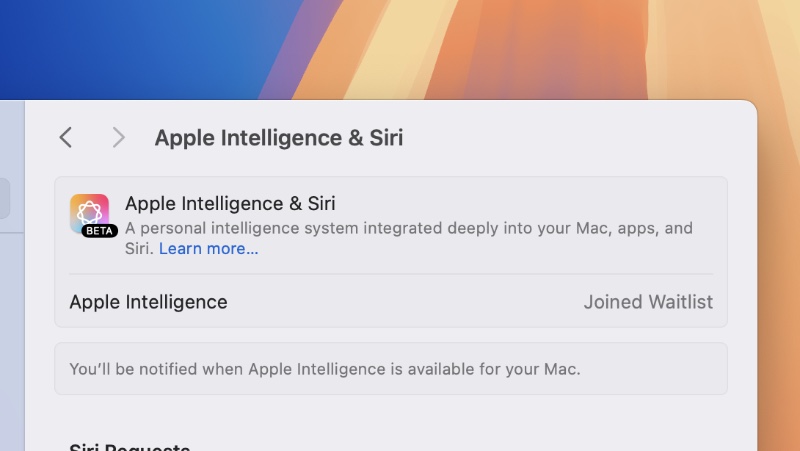
Let me show you how you can enable Apple Intelligence on your Mac running the latest macOS Sequoia 15.1 update.
Updated to macOS Sequoia 15.1? Here’s How You Can Enable Apple Intelligence and Board the AI Bandwagon
Before you go ahead and try to enable Apple Intelligence, make sure your Mac actually supports it in the first place. You can check the entire list by going here. But, long story short, you need an Apple silicon Mac for this.
Any Apple silicon Mac at all.
By the way, if you want to enable AI on your iPhone and iPad, be sure to head over to this tutorial.
Here’s how you can enable Apple’s AI on your Mac right now:
Step 1. Download and install macOS Sequoia 15.1. This is a strict requirement. The update is available by going to System Settings > General > Software Update.
Once the update is installed, move to the next step.
Step 2. Launch ‘System Settings.’
Step 3. Click on ‘Apple Intelligence & Siri.’
Step 4. Now simply click on the ‘Join Apple Intelligence Waitlist’ button.

I know, the waitlist sucks. But, that’s how Apple is bringing people onboard in the early days. Who knows the waitlist might simply go away in the near future especially when Apple’s AI is no longer in beta.
Once you have been accepted into Apple Intelligence, you’ll get a notification for it and all you have to do is follow the on-screen instructions regarding what you are going to enable and use.
Currently, only a handful of features are available with Apple Intelligence. But, the biggest one that makes most sense on the Mac is Writing Tools. If you find yourself typing a lot of emails and essays for work or school, Writing Tools is going to polish your written text up exactly the way you want it.
With the next release of macOS Sequoia – version 15.2 – things will get even better with the introduction of Image Playground and added support for ChatGPT with Siri. And this update is expected to be released some time in early December which is not too far away from now.


