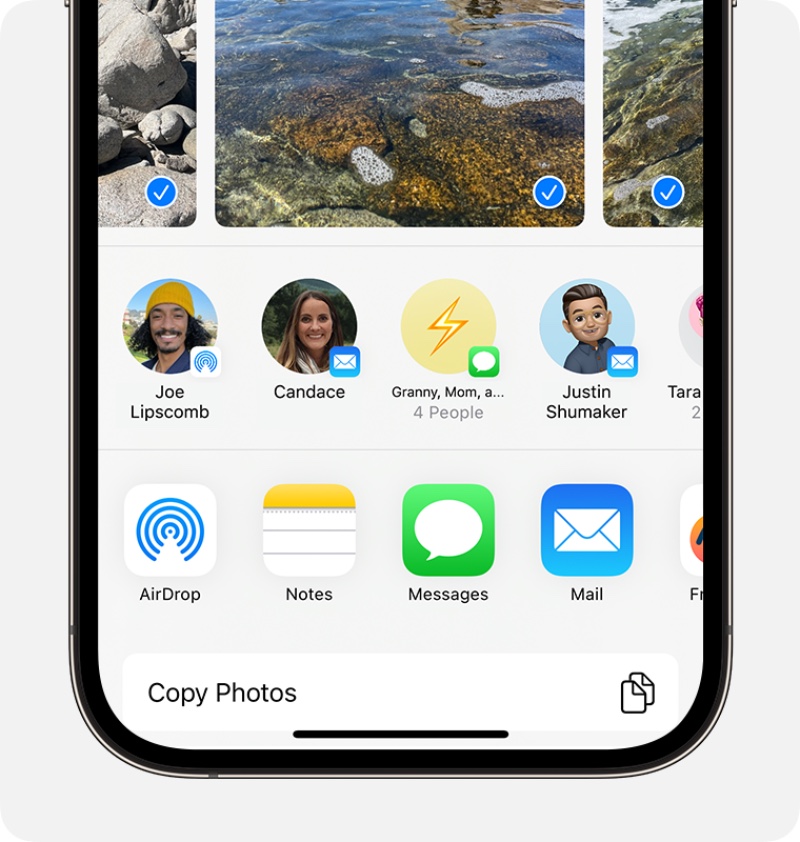
Here’s how you can use wired AirDrop between iPhone, iPad, and Mac for faster photo, video, and file transfers.
Use Wired AirDrop for Faster and Stable File Transfers Between iPhone, iPad and Mac
AirDrop is one of the best features in the Apple ecosystem, allowing you to send photos, videos, and any other file type at blistering fast speeds between iPhones, iPads, and Macs.
The best part: it all happens wirelessly.
From having no way to wirelessly transfer files between devices to having AirDrop overnight feels like magic. And it all happened back in 2011.
While AirDrop is great and all, it may not be the best way to transfer files, especially if the file you’re trying to send is massive in size. Sometimes, physics may not side with you on a particular day, causing a slowdown in transfer speeds, thanks to tons of wireless devices around you causing interference.
In order to counter this, you can just use wired AirDrop.
Believe it or not, the feature works exactly as you expect it to. Just connect two devices using a cable and send the file exactly how you would during wireless AirDrop, except everything will be way faster.

However, there are certain limitations to this as well. For example, if you are using the fastest possible USB-C cable between iPhones, iPads, and Macs, then the transfer will be great.
If you are using a USB-C to Lightning cable, then speeds are going to vary – somewhere between 480Mbps and 5Gbps, depending on the cable and devices involved in the transfer.
The biggest limitation is an obvious one – it does not work between Lightning-only devices since there’s no Lightning-to-Lightning cable out there. Once a device has to be USB-C for this to work.
Another thing that makes a wired transfer way better is the stability. Sometimes, AirDrop may just suddenly stop working. A wired connection will keep going until the transfer is complete.
An important thing worth mentioning here is this – you must have Wi-Fi and Bluetooth enabled for this to work. Though it sounds strange, AirDrop requires a wireless handshake before sending off the file using a cable.
Just as an example, I connected my iPhone to my MacBook Air using a USB-C cable and initiated a file transfer using AirDrop from the Photos app. I did it exactly how you normally start an AirDrop – tap on the ‘Share’ button, then tap on ‘AirDrop,’ then select the device you want to send it to.
You’ll know it’s a wired AirDrop as iOS and iPadOS will inform you about it during file transfer.

I’ve been using this for a long time, and chances are high you are, too. But if you just found out about this, I will suggest giving it a try. Sure, it’s not exactly convenient since it involves cables, but if you find yourself transferring huge files from one device to the other a lot, then this may save you some time and the annoyance of dealing with not-so-great wireless conditions.
You only have to make sure you are using the fastest USB-C cable that your device supports; otherwise, you’ll experience speeds slower than wireless AirDrop.


