Don’t know where to start? Here’s how you can use Genmoji to create custom emojis on iPhone and iPad with iOS 18.2 and iPadOS 18.2.
Dinosaur Eating Pizza Emoji? Here’s How You Can Use Genmoji on iPhone and iPad to Create Custom Emoji
iOS 18.2 and iPadOS 18.2 are finally here with new Apple Intelligence features, including Genmoji, a generative AI feature that lets you create custom emojis using text prompts.
Though the feature seems pretty straightforward, it requires some patience and a little digging around in order to use it.
I’m going to walk you through all the steps from start to finish.
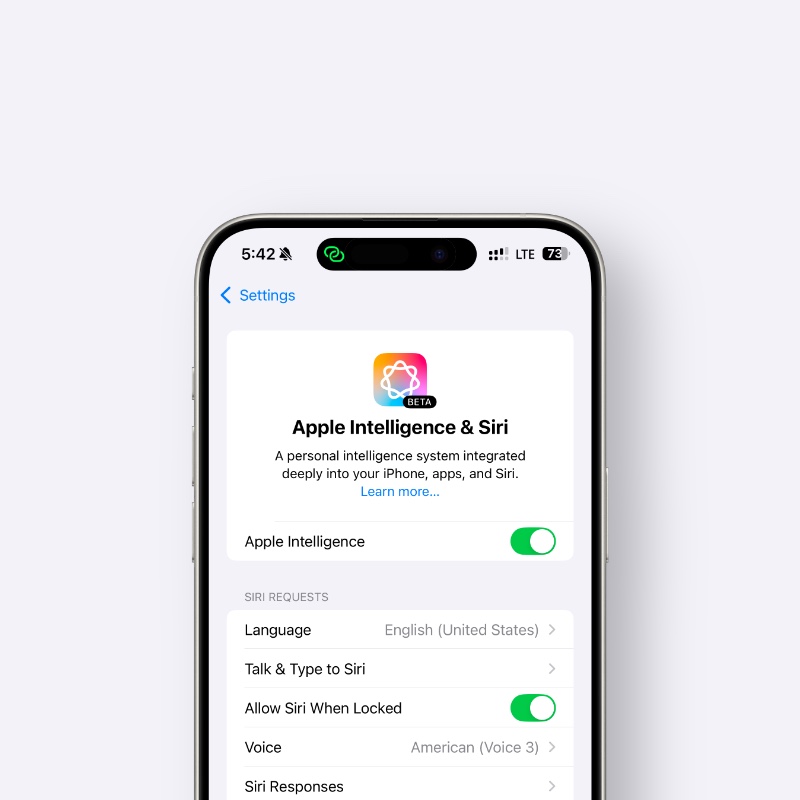
Make Sure Apple Intelligence is Enabled
Genmoji requires Apple Intelligence, and you have to enable it first. This means you need a compatible iPhone and iPad to use it. This means you need at least an iPhone 15 Pro or any iPad with the M-series chip inside.

You can find steps to enable Apple Intelligence right here.
Once enabled, your iPhone and iPad will download some files from Apple’s servers. It’s best to connect your iPhone or iPad to power and connect it to Wi-Fi at this point.
Launch Image Playground
Once Apple Intelligence is enabled and set up, you’ll see a brand-new Image Playground app on your Home Screen. Launch it, and it will tell you that it is downloading resources.
The only way to complete the resource download is to connect your device to power and Wi-Fi, so please do so.
Once the resource files are downloaded, you’ll see a notification for it saying that Image Playground and Genmoji are ready for use.
Time for Custom Emoji (or Genmoji)
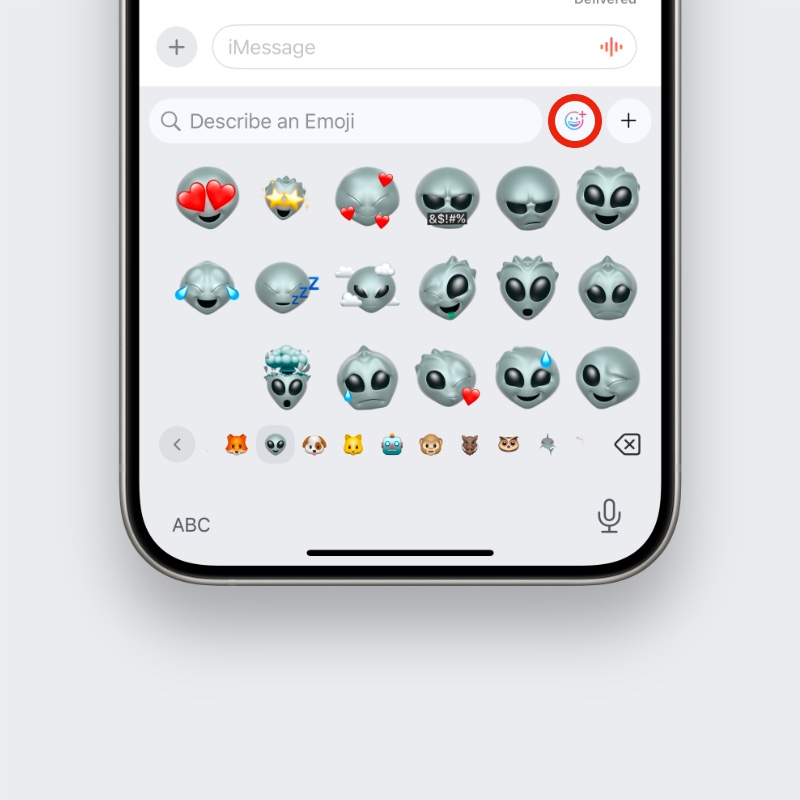
Simply open up any text messaging app of your choice (Messages, for example). When you bring up the keyboard, tap on the emoji button at the bottom left.
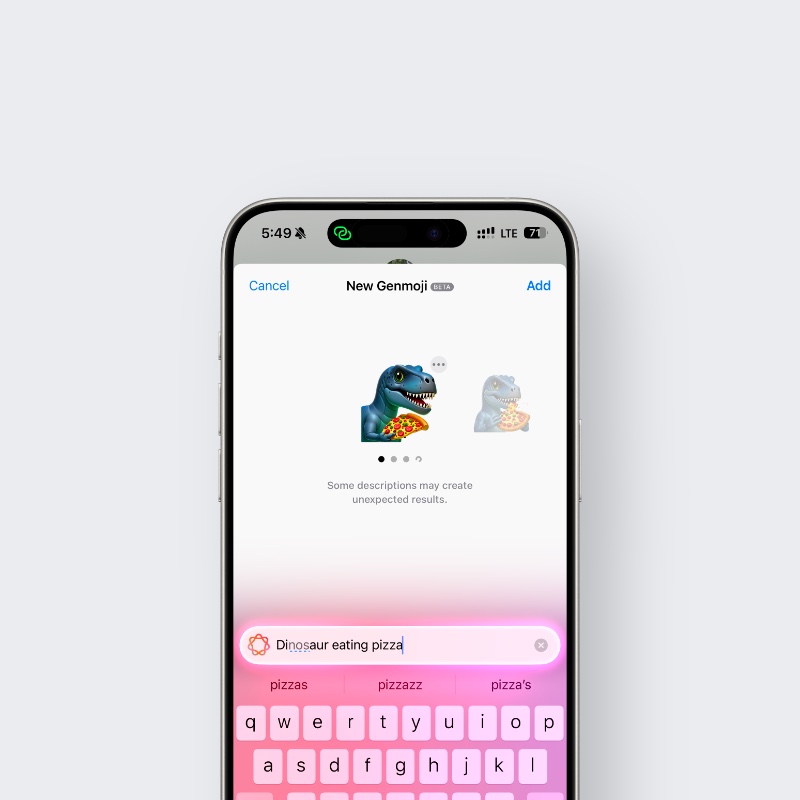
Right at the top, you’ll see a search box, and next to it, a smiley face with a ‘+’ button on it. Tap on that to bring up the Genmoji generator.

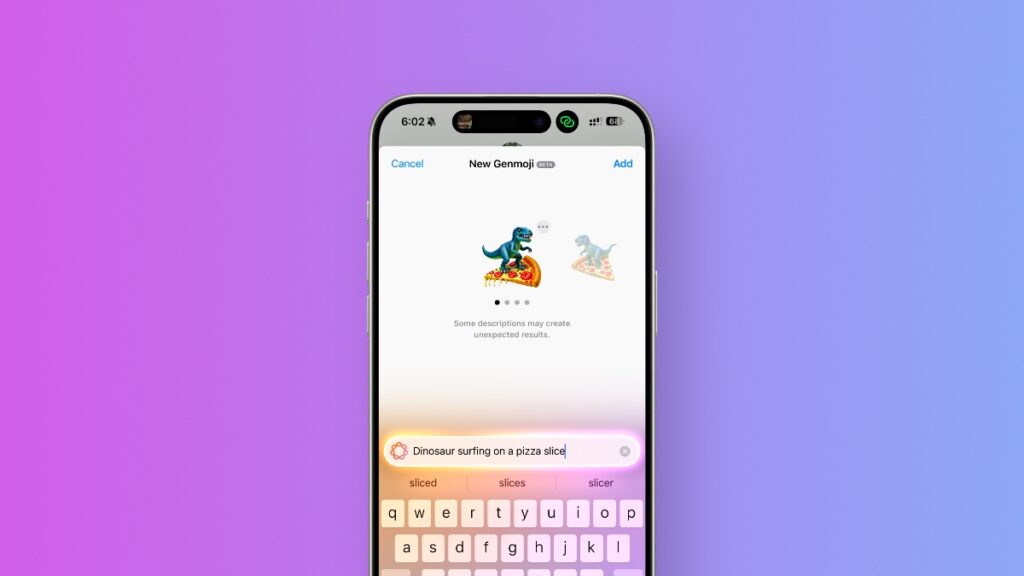
Now just describe the emoji you want to create. It’s that simple.

You can get way too creative with this, and the possibilities are endless. Go and be the emoji artist you always wanted to be.


