Let me show you how you can put your M4 iPad Pro into DFU mode if you want to clean install iPadOS on it from scratch.
Fix All Software Issues on M4 iPad Pro Using DFU Mode and Reinstalling iPadOS from Scratch
Reinstalling software is usually a very easy thing to do on iPhone and iPad. You can either do a factory reset from the Settings app to get things back on track, or you can clean install iOS or iPadOS using Finder as well.
However, if things have become extremely messy on your iPhone and iPad, you might need to turn to DFU mode and perform a clean install.
I’m not going to dive into the technical details of DFU mode, but I will tell you that it is the last option you should turn to if everything else fails. It will forcefully install brand-new software onto your iPhone and iPad, ensuring you get things back on track.
DFU mode is extremely handy if the software you’re currently running has run into so many problems that you cannot fix anything at all. DFU mode allows you to start over from scratch.
And yes, you will lose all your files and settings when you put your device into DFU mode and perform a clean installation of iOS and iPadOS.
Entering and exiting DFU mode without reinstalling iPadOS will not do anything to your files at all. It’s the iPadOS installation process that deletes everything.
In this tutorial, I will show you how to put your M4 iPad Pro into DFU mode, allowing you to install a fresh copy of iPadOS and get rid of any errors you might have been facing for a long time.
Enter DFU Mode M4 iPad Pro
Warning: This will take several tries before you get it right. If you managed to do it in one go, give yourself a pat on the back.
One more thing, these steps are applicable on any iPad without a Home button.
Step 1. If your M4 iPad Pro is turned on, make sure you power it off.
Step 2. Connect the iPad Pro to your Mac using a USB-C cable.
Step 3. Now press and let go of the Volume Up button and then press and let go of the Volume Down button.
Step 4. As soon as you let go of the Volume Down button, press and hold both Volume Down + Power buttons together for 5 seconds.
Step 5. Once the 5 seconds are over, let go of the Power button and hold down the Volume Down button for another 5 seconds until Finder detects your iPad Pro in DFU mode.
Reinstall iPadOS Using Finder
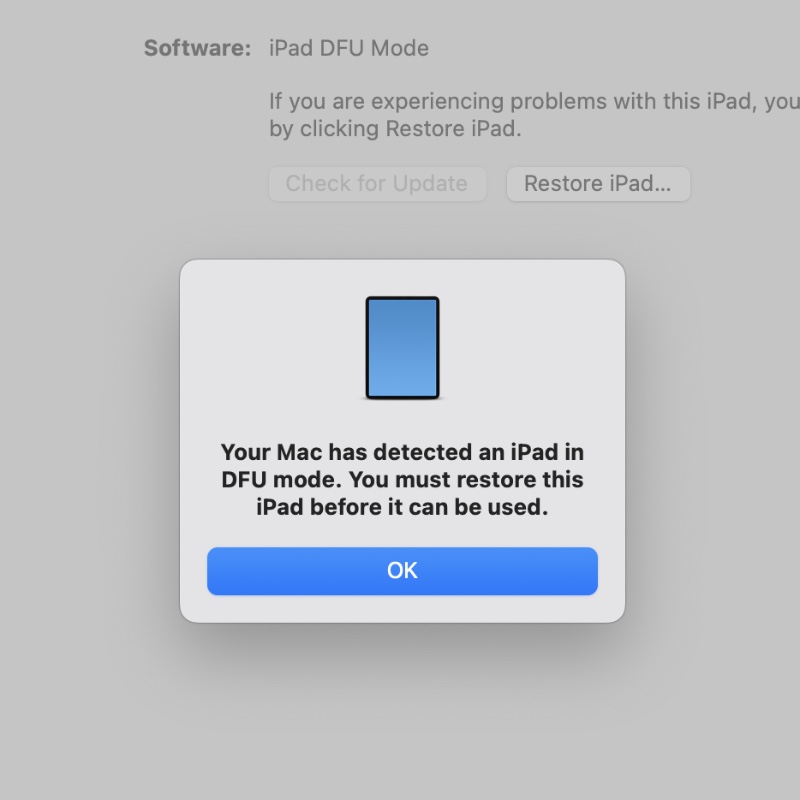
If you performed the above steps correctly, your iPad Pro will go straight into DFU mode and you’ll see a message like this in Finder:

Click on OK, then click on the Restore iPad button in Finder, and it will download the latest iPadOS update and install it onto your device.
Exit DFU Mode M4 iPad Pro
Step 1. Remove the USB-C cable.
Step 2. Press and let go of the Volume Up button, press and let go of the Volume Down button.
Step 3. Press and hold the Power button until you see the Apple logo on the display.
Step 4. Let go of the Power button when you see the Apple logo.
If you are interested in knowing how to put your iPhone 16 or iPhone 16 Pro into DFU mode, be sure to check out the tutorial posted here.


